我们已经学习过 Spring Cloud Config,它提供了配置中心的功能,但是需要配合 git、svn 或外部存储(例如各种数据库),且需要配合 Spring Cloud Bus 实现配置刷新。
前面的课程中我们也学习了 Spring Cloud Consul,当时讲解了它作为注册中心的使用方案,且作为 Spring Cloud 官方推荐替换 Eureka 注册中心的方案。既然使用了 Consul,就可以使用 Consul 提供的配置中心功能,并且不需要额外的 git 、svn、数据库等配合,且无需配合 Bus 即可实现配置刷新。
Spring Cloud 官方声明 Consul 可以作为 Spring Cloud Config 配置中心的替代方案。
官方文档:https://cloud.spring.io/spring-cloud-static/spring-cloud-consul/2.2.2.RELEASE/reference/html/#spring-cloud-consul-config
关于 Consul 注册中心部分我们已经学习过,未学习的同学请参考之前的课程进行学习。今天我们主要讲解 Consul 作为配置中心如何使用。
Consul 介绍
Consul 是 HashiCorp 公司推出的开源工具,用于实现分布式系统的服务发现与配置。与其它分布式服务注册与发现的方案,Consul 的方案更“一站式”,内置了服务注册与发现框架、分布式一致性协议实现、健康检查、Key/Value 存储(配置中心)、多数据中心方案,不再需要依赖其它工具(比如 ZooKeeper 等),使用起来也较为简单。
Consul 使用 Go 语言编写,因此具有天然可移植性(支持Linux、Windows 和 Mac OS);安装包仅包含一个可执行文件,方便部署,与 Docker 等轻量级容器可无缝配合。
Consul 特性
Raft 算法
服务发现
健康检查
Key/Value 存储(配置中心)
多数据中心
支持 http 和 dns 协议接口
官方提供 Web 管理界面
Consul 安装
Consul 是用 go 语言编写的第三方工具需要单独安装使用。
下载
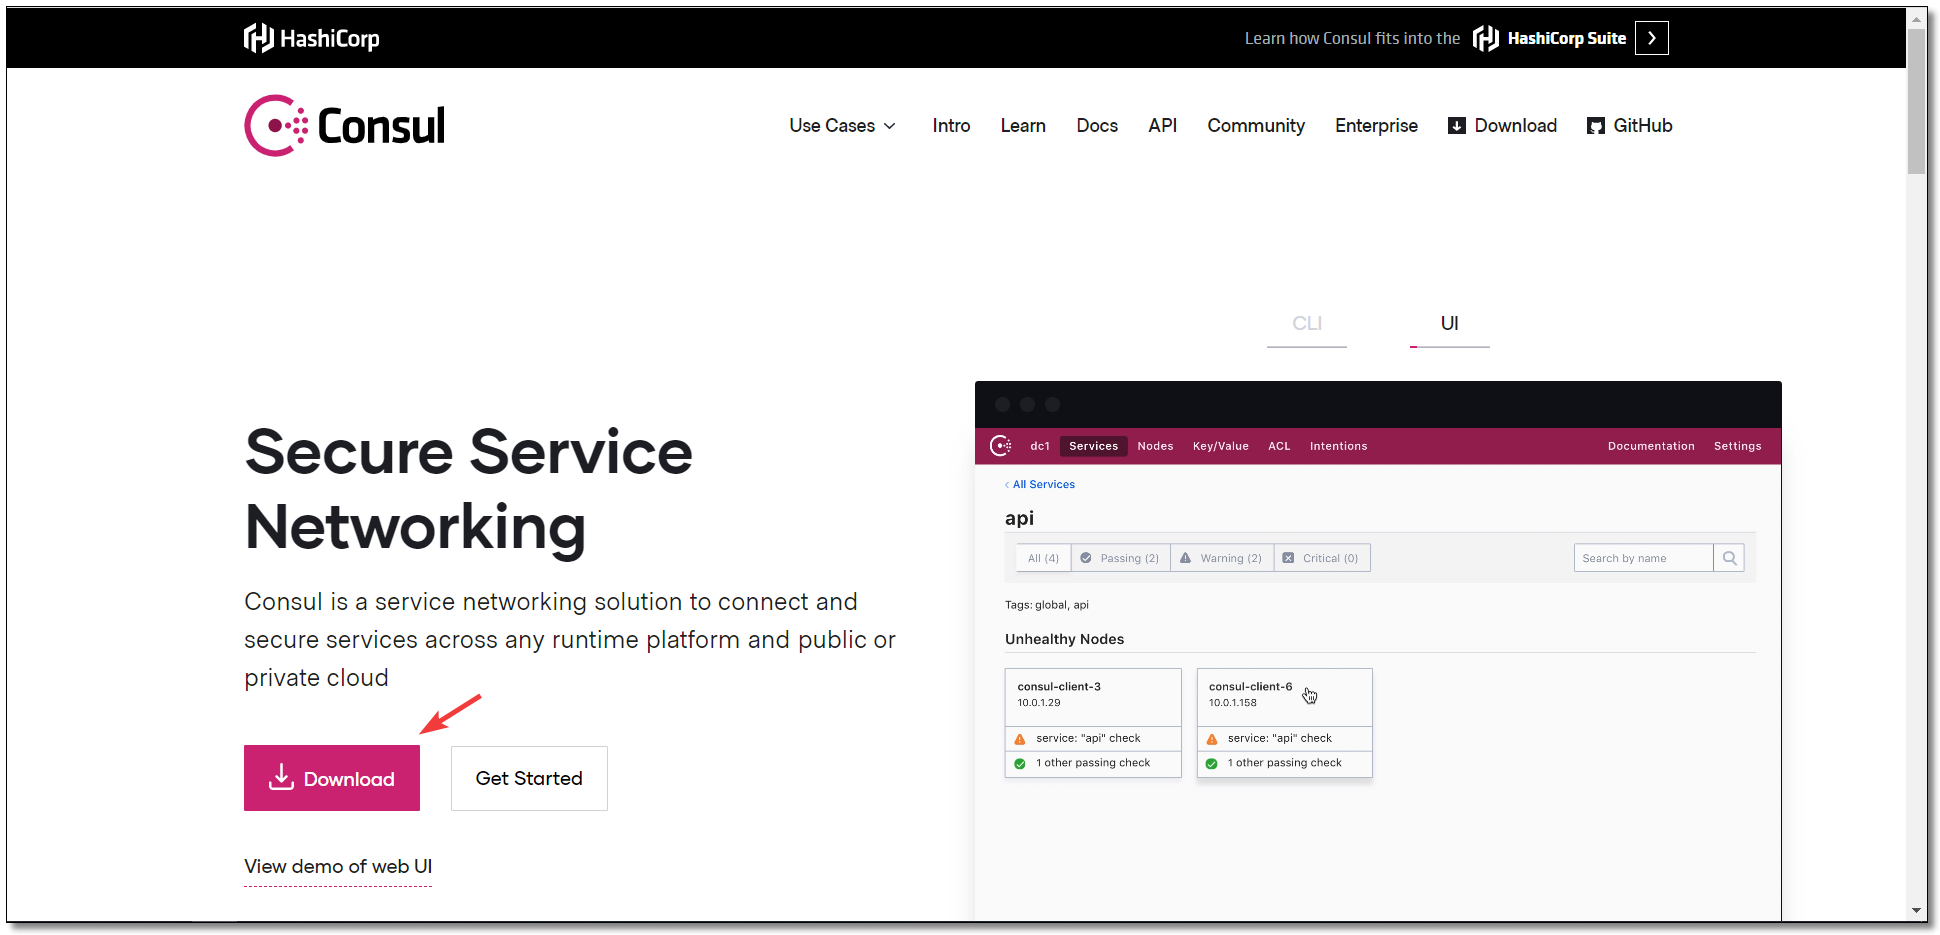
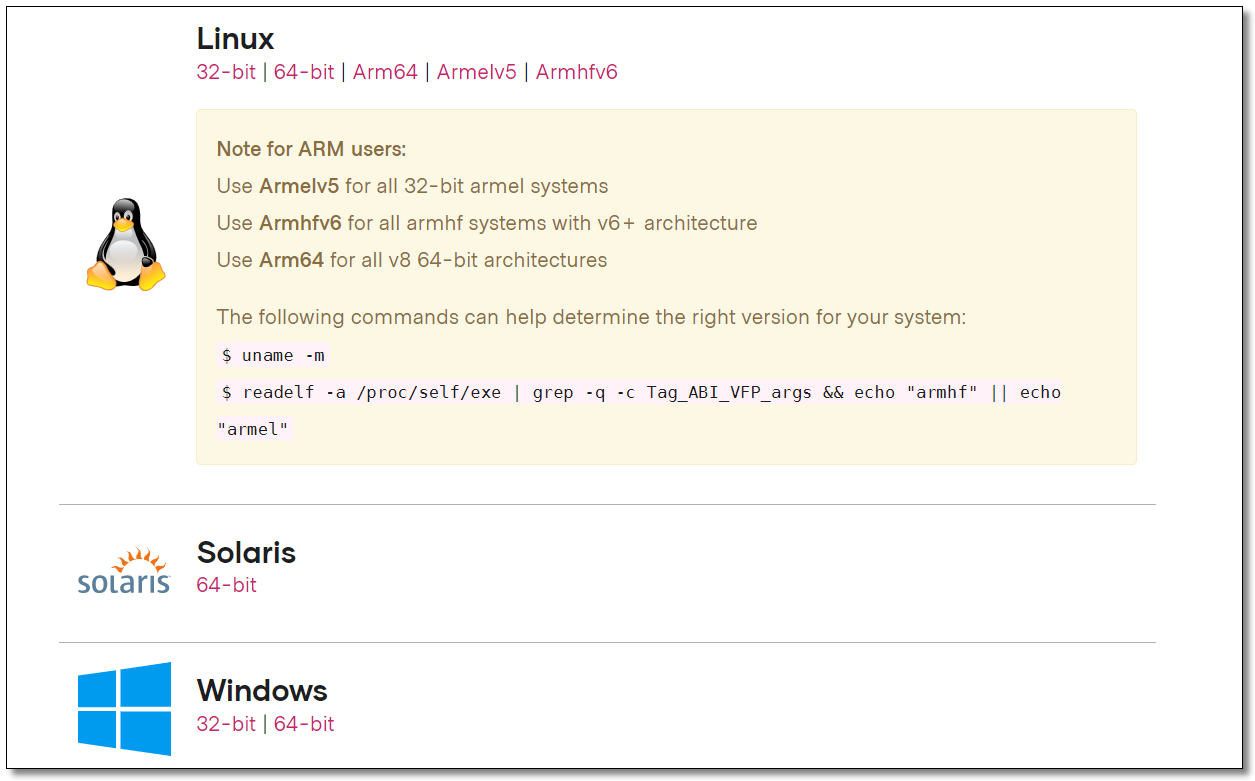
访问 Consul 官网:https://www.consul.io 下载 Consul 的最新版本。
支持多种环境安装,截图中只显示了部分环境。
安装
单节点和集群的安装方式在之前的课程中已经详细讲解过,这里主要讲解 Consul 配置中心的作用,我们在 Windows 安装一个单节点的 Consul 即可。
下载后的压缩包中就只有一个 consul.exe 的执行文件。
cd 到对应的目录下,使用 cmd 启动 Consul
1
2
# -dev表示开发模式运行
consul agent -dev -client=0.0.0.0
为了方便启动,也可以在 consul.exe 同级目录下创建一个脚本来启动,脚本内容如下:
1
2
consul agent -dev -client= 0.0.0.0
pause
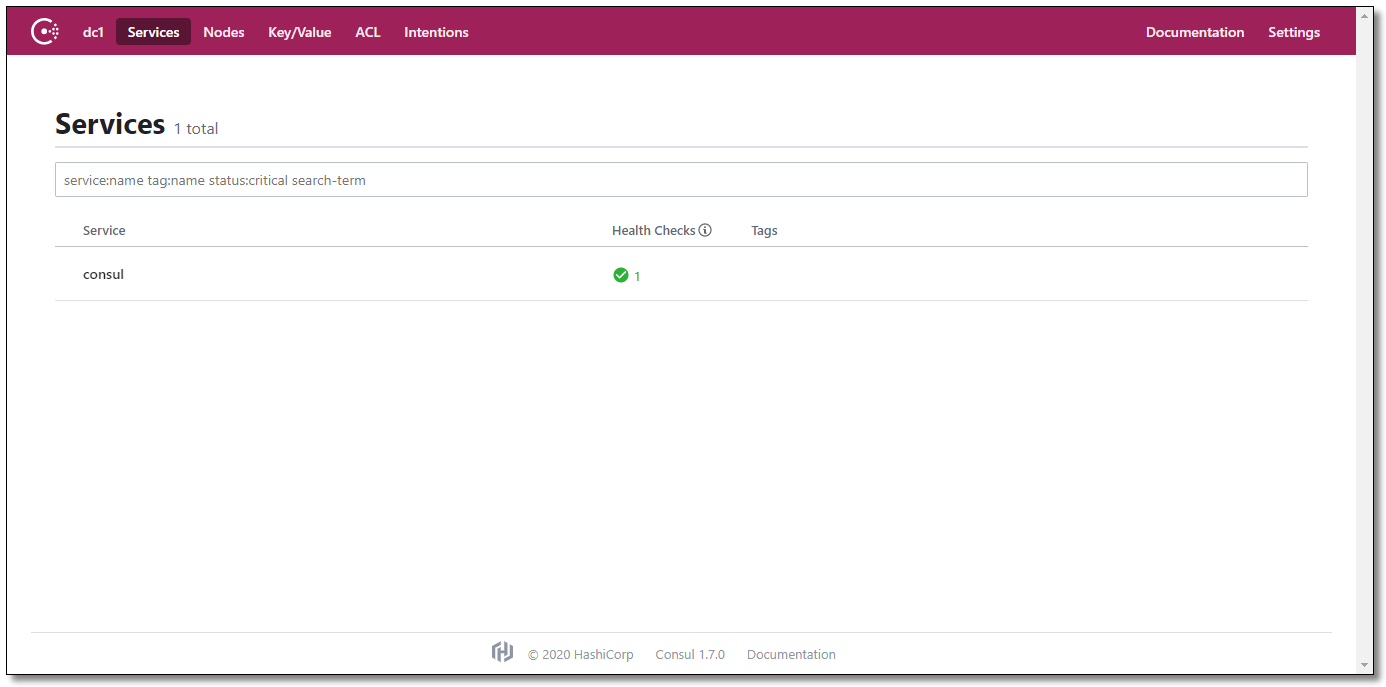
访问管理后台:http://localhost:8500/ 看到下图意味着我们的 Consul 服务启动成功了。
初始化配置
创建基本目录
使用 Consul 作为配置中心,第一步我们先创建目录,把配置信息存储至 Consul。
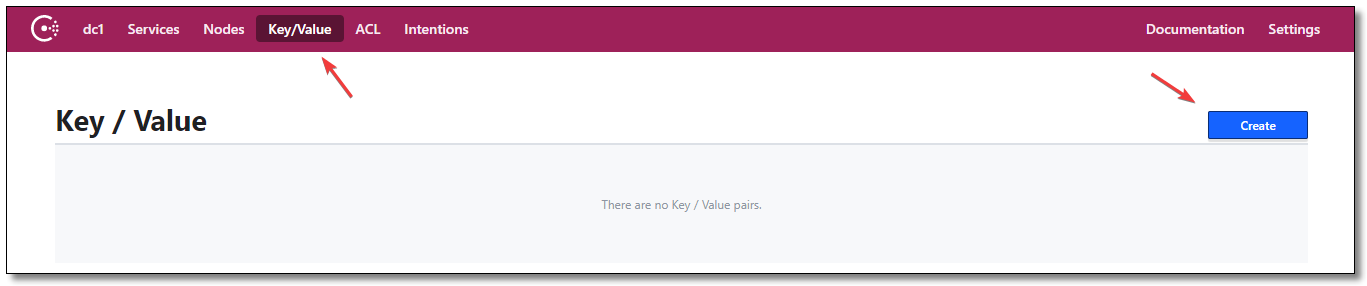
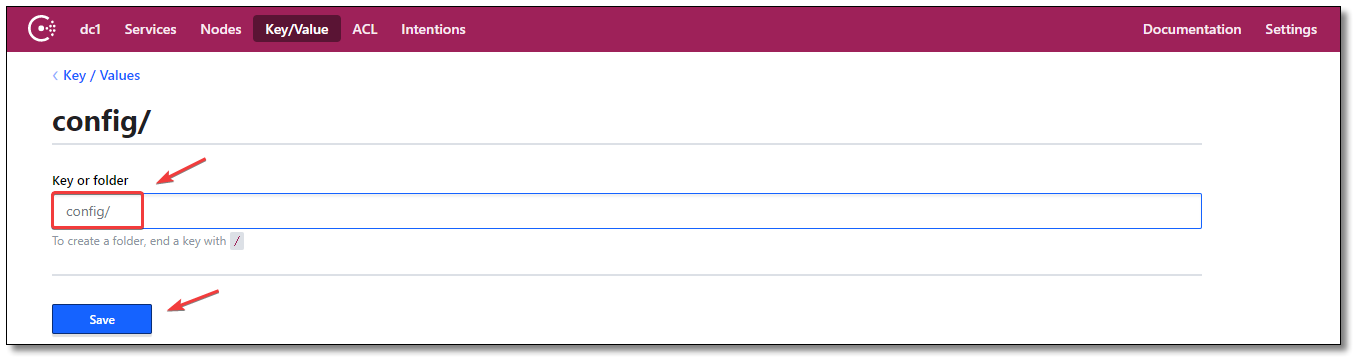
点击菜单 Key/Value 再点击 Create 按钮。
创建 config/ 基本目录,可以理解为配置文件所在的最外层文件夹。
创建应用目录
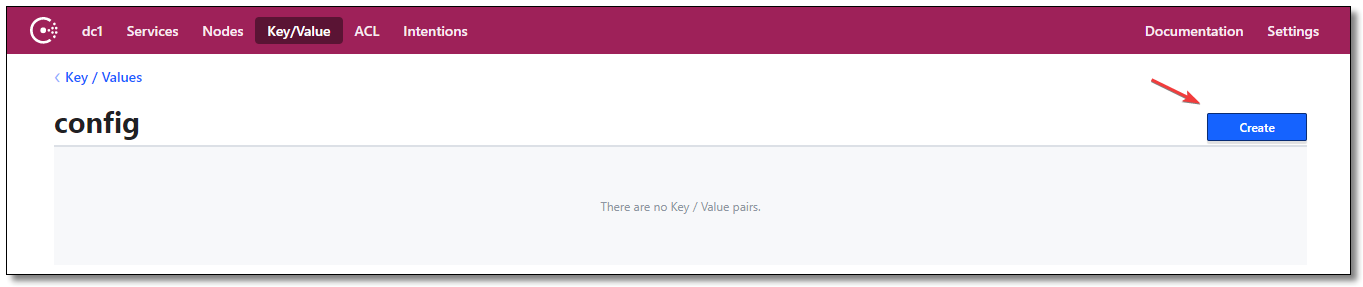
点击 config 进入文件夹。
再点击 Create 按钮。
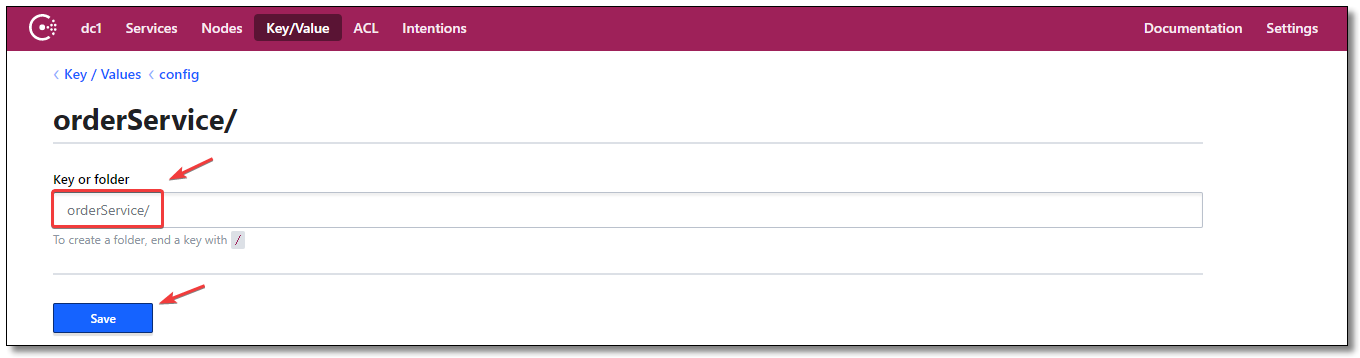
创建 orderService/ 应用目录,存储对应微服务应用的 default 环境配置信息。
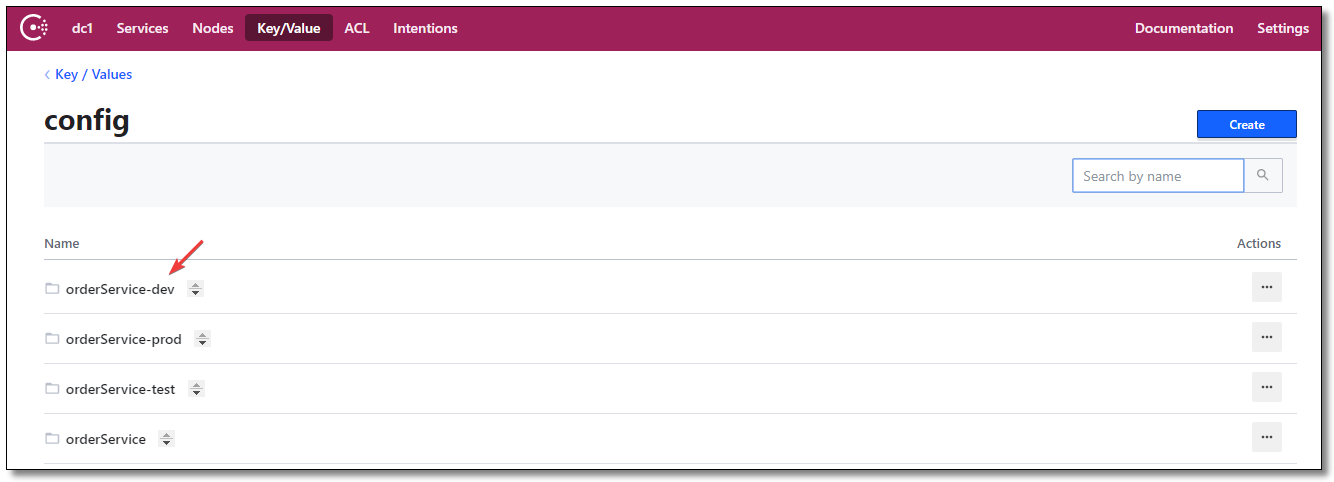
多环境应用目录
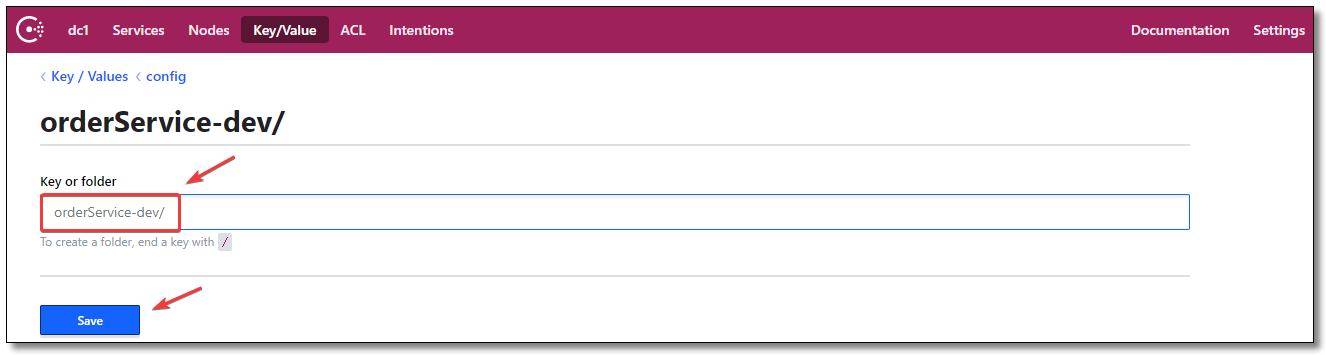
假设我们的项目有多环境:default、test、dev、prod,在 config 目录下创建多环境目录。
orderService 文件夹对应 default 环境orderService-test 文件夹对应 test 环境orderService-dev 文件夹对应 dev 环境orderService-prod 文件夹对应 prod 环境
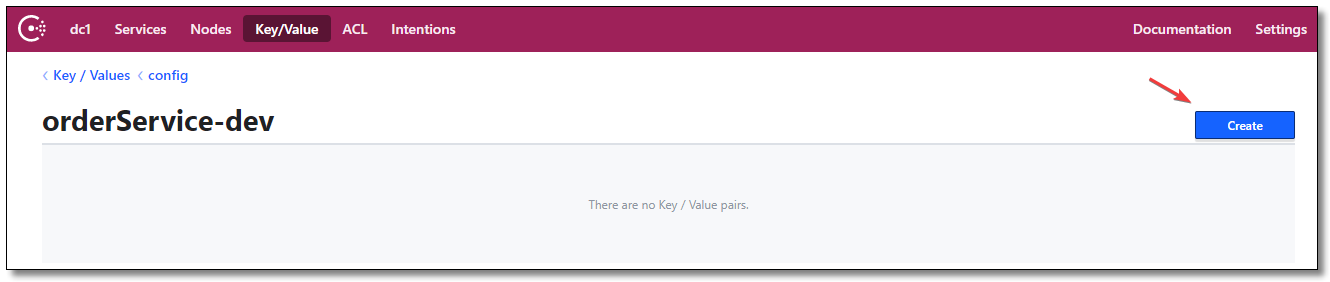
初始化配置
以 dev 环境为例,点击 orderService-dev 进入文件夹。
点击 Create 按钮准备创建 Key/Value 配置信息。
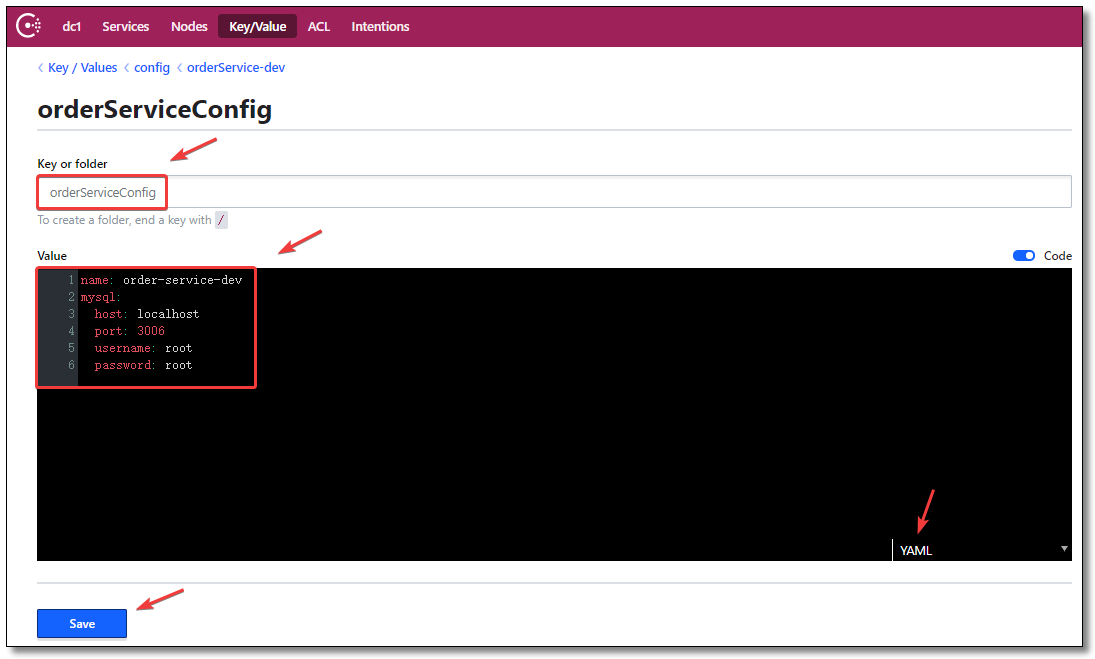
填写 Key:orderServiceConfig
填写 Value:
1
2
3
4
5
6
name : order-service-dev
mysql :
host : localhost
port : 3006
username : root
password : root
假设以上内容为订单微服务的配置信息,下面我们通过案例来加载 Consul 配置中心中的配置信息。
环境准备
consul-config-demo 聚合工程。SpringBoot 2.2.4.RELEASE、Spring Cloud Hoxton.SR1。
order-service:订单服务order-service02:订单服务
实践案例
添加依赖
需要从 Consul 获取配置信息的项目主要添加 spring-cloud-starter-consul-config 依赖,完整依赖如下:
order-service 和 order-service02 依赖一致。
 1
 2
 3
 4
 5
 6
 7
 8
 9
10
11
12
13
14
15
16
17
18
19
20
21
22
23
24
25
26
27
28
29
30
31
32
33
34
35
36
37
38
39
40
41
42
43
44
45
46
47
48
49
50
51
52
53
54
55
<?xml version="1.0" encoding="UTF-8"?>
<project xmlns= "http://maven.apache.org/POM/4.0.0" xmlns:xsi= "http://www.w3.org/2001/XMLSchema-instance"
xsi:schemaLocation= "http://maven.apache.org/POM/4.0.0 http://maven.apache.org/xsd/maven-4.0.0.xsd" >
<modelVersion> 4.0.0</modelVersion>
<groupId> com.example</groupId>
<artifactId> order-service</artifactId>
<version> 1.0-SNAPSHOT</version>
<!-- 继承父依赖 -->
<parent>
<groupId> com.example</groupId>
<artifactId> consul-config-demo</artifactId>
<version> 1.0-SNAPSHOT</version>
</parent>
<!-- 项目依赖 -->
<dependencies>
<!-- spring boot web 依赖 -->
<dependency>
<groupId> org.springframework.boot</groupId>
<artifactId> spring-boot-starter-web</artifactId>
</dependency>
<!-- spring boot actuator 依赖 -->
<dependency>
<groupId> org.springframework.boot</groupId>
<artifactId> spring-boot-starter-actuator</artifactId>
</dependency>
<!-- spring cloud consul discovery 服务发现依赖 -->
<dependency>
<groupId> org.springframework.cloud</groupId>
<artifactId> spring-cloud-starter-consul-discovery</artifactId>
</dependency>
<!-- spring cloud consul config 配置中心依赖 -->
<dependency>
<groupId> org.springframework.cloud</groupId>
<artifactId> spring-cloud-starter-consul-config</artifactId>
</dependency>
<!-- spring boot test 依赖 -->
<dependency>
<groupId> org.springframework.boot</groupId>
<artifactId> spring-boot-starter-test</artifactId>
<scope> test</scope>
<exclusions>
<exclusion>
<groupId> org.junit.vintage</groupId>
<artifactId> junit-vintage-engine</artifactId>
</exclusion>
</exclusions>
</dependency>
</dependencies>
</project>
配置文件
老规矩,配置文件必须叫 bootstrap.yml 我们除了使用 Consul 配置中心功能之外,把微服务也注册到 Consul 注册中心去。order-service 和 order-service02 的配置项中除了端口和注册实例 id 之外,其余配置项一致,完整配置如下:
 1
 2
 3
 4
 5
 6
 7
 8
 9
10
11
12
13
14
15
16
17
18
19
20
21
22
23
24
25
26
27
28
29
30
31
32
33
34
35
36
37
38
39
40
41
42
43
server :
port : 9090 # 端口
spring :
application :
name : order-service # 应用名称
profiles :
active : dev # 指定环境,默认加载 default 环境
cloud :
consul :
# Consul 服务器地址
host : localhost
port : 8500
# 配置中心相关配置
config :
# 是否启用配置中心,默认值 true 开启
enabled : true
# 设置配置的基本文件夹,默认值 config 可以理解为配置文件所在的最外层文件夹
prefix : config
# 设置应用的文件夹名称,默认值 application 一般建议设置为微服务应用名称
default-context : orderService
# 配置环境分隔符,默认值 "," 和 default-context 配置项搭配
# 例如应用 orderService 分别有环境 default、dev、test、prod
# 只需在 config 文件夹下创建 orderService、orderService-dev、orderService-test、orderService-prod 文件夹即可
profile-separator : '-'
# 指定配置格式为 yaml
format : YAML
# Consul 的 Key/Values 中的 Key,Value 对应整个配置文件
data-key : orderServiceConfig
# 以上配置可以理解为:加载 config/orderService/ 文件夹下 Key 为 orderServiceConfig 的 Value 对应的配置信息
watch :
# 是否开启自动刷新,默认值 true 开启
enabled : true
# 刷新频率,单位:毫秒,默认值 1000
delay : 1000
# 服务发现相关配置
discovery :
register : true # 是否需要注册
instance-id : ${spring.application.name}-01 # 注册实例 id(必须唯一)
service-name : ${spring.application.name} # 服务名称
port : ${server.port} # 服务端口
prefer-ip-address : true # 是否使用 ip 地址注册
ip-address : ${spring.cloud.client.ip-address} # 服务请求 ip
配置文件实体类
order-service 和 order-service02 实体类代码一致。
 1
 2
 3
 4
 5
 6
 7
 8
 9
10
11
12
13
14
15
16
17
18
19
20
21
22
23
24
25
26
27
28
29
30
31
32
33
34
35
36
37
38
39
40
41
42
43
44
45
46
47
package com.example.config ;
import org.springframework.boot.context.properties.ConfigurationProperties ;
import org.springframework.stereotype.Component ;
@Component
@ConfigurationProperties ( prefix = "mysql" )
public class MySQLProperties {
private String host ;
private Integer port ;
private String username ;
private String password ;
public String getHost () {
return host ;
}
public void setHost ( String host ) {
this . host = host ;
}
public Integer getPort () {
return port ;
}
public void setPort ( Integer port ) {
this . port = port ;
}
public String getUsername () {
return username ;
}
public void setUsername ( String username ) {
this . username = username ;
}
public String getPassword () {
return password ;
}
public void setPassword ( String password ) {
this . password = password ;
}
}
控制层
order-service 和 order-service02 控制层代码一致。
注意需要添加 @RefreshScope 注解用于重新刷新作用域实现属性值自动刷新。
 1
 2
 3
 4
 5
 6
 7
 8
 9
10
11
12
13
14
15
16
17
18
19
20
21
22
23
24
25
26
27
28
29
30
package com.example.controller ;
import com.example.config.MySQLProperties ;
import org.springframework.beans.factory.annotation.Autowired ;
import org.springframework.beans.factory.annotation.Value ;
import org.springframework.cloud.context.config.annotation.RefreshScope ;
import org.springframework.web.bind.annotation.GetMapping ;
import org.springframework.web.bind.annotation.RestController ;
@RefreshScope
@RestController
public class ConfigController {
@Autowired
private MySQLProperties mySQLProperties ;
@Value ( "${name}" )
private String name ;
@GetMapping ( "/name" )
public String getName () {
return name ;
}
@GetMapping ( "/mysql" )
public MySQLProperties getMySQLProperties () {
return mySQLProperties ;
}
}
启动类
order-service 和 order-service02 启动类代码一致。
 1
 2
 3
 4
 5
 6
 7
 8
 9
10
11
12
13
package com.example ;
import org.springframework.boot.SpringApplication ;
import org.springframework.boot.autoconfigure.SpringBootApplication ;
@SpringBootApplication
public class OrderServiceApplication {
public static void main ( String [] args ) {
SpringApplication . run ( OrderServiceApplication . class , args );
}
}
测试
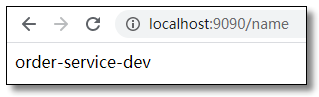
修改配置信息前
访问:http://localhost:9090/name 结果如下:
访问:http://localhost:9090/mysql 结果如下:
修改配置信息
修改 Consul 配置中心 orderService-dev 环境的配置信息为:
1
2
3
4
5
6
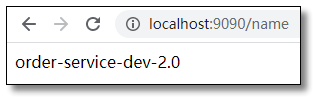
name : order-service-dev-2.0
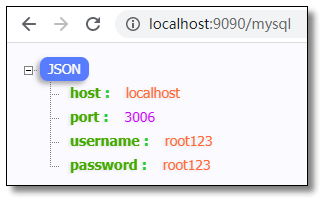
mysql :
host : localhost
port : 3006
username : root123
password : root123
修改配置信息后
控制台打印信息如下:
1
2
3
4
[ TaskScheduler-1] b.c.PropertySourceBootstrapConfiguration : Located property source: [ BootstrapPropertySource { name = 'bootstrapProperties-config/order-service-dev/' } , BootstrapPropertySource { name = 'bootstrapProperties-config/order-service/' } , BootstrapPropertySource { name = 'bootstrapProperties-config/orderService-dev/' } , BootstrapPropertySource { name = 'bootstrapProperties-config/orderService/' }]
[ TaskScheduler-1] o.s.boot.SpringApplication : The following profiles are active: dev
[ TaskScheduler-1] o.s.boot.SpringApplication : Started application in 3.748 seconds ( JVM running for 142.28)
[ TaskScheduler-1] o.s.c.e.event.RefreshEventListener : Refresh keys changed: [ name, mysql.password, mysql.username]
Consul 使用 Spring 定时任务 Spring TaskScheduler来监听配置文件的更新。
默认情况下,它是一个定时任务线程池 ThreadPoolTaskScheduler,其poolSize值为 1。要更改TaskScheduler,请创建一个 TaskScheduler 使用 ConsulConfigAutoConfiguration.CONFIG_WATCH_TASK_SCHEDULER_NAME 常量命名的 bean 类型。
访问:http://localhost:9090/name 结果如下:
访问:http://localhost:9090/mysql 结果如下:
总结
HashiCorp 公司的 Consul 可谓是一款全能组件。可用于提供服务发现和服务配置的工具。用 go 语言开发,具有很好的可移植性,被 Spring Cloud 纳入其中。
在注册中心方面,Netflix Eureka 停止新版本开发,Consul 成为了优秀的可替代方案。
在配置中心方面,Consul 亦可替代 Spring Cloud Config 作为配置中心使用,且无需配合 Git、SVN 等工具,无需配合 Bus 消息总线即可实现集群配置更新。
本文采用 知识共享「署名-非商业性使用-禁止演绎 4.0 国际」许可协议
大家可以通过 分类Spring Cloud
🤗 您的点赞和转发是对我最大的鼓励和支持。
📢 扫码关注 哈喽沃德先生「文档 + 视频」每篇文章都配有专门视频讲解,学习更轻松噢 ~


,且需要配合 Spring Cloud Bus 实现配置刷新。前面的课程中我们也学习了 Spring Cloud Consul,当时讲解了它作为注册中心的使用方案,且作为 Spring Cloud 官方推荐替换 Eureka 注册中心的方案。既然使用了 Consul,就可以使用 Consul 提供的配置中心功能,并且不需要额外的 git 、svn、数据库等配合,且无需配合 Bus 即可实现配置刷新。")